Genesis 1:1
| Cabinets, Drawers, Closets |
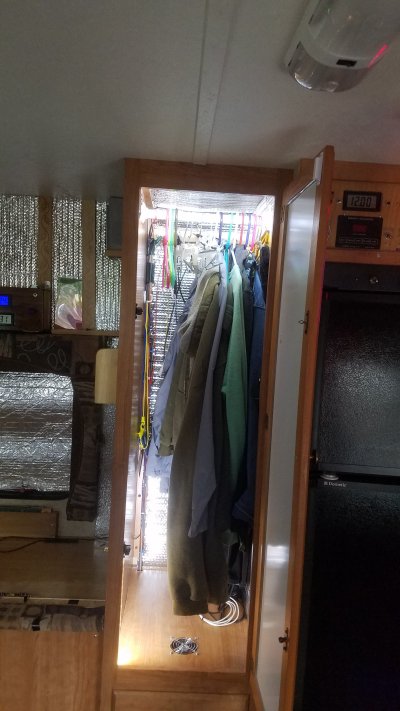 Here is the closet by the refrigerator. A daylight white strip on top, and one on the bottom.
|
Genesis 1:1 |
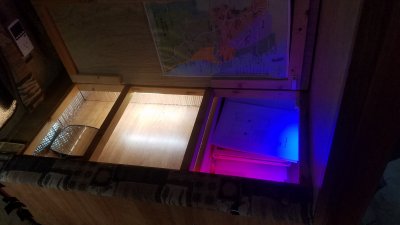 Here is a hatch door behind the couch. The door lifts up vertically.
You do not have to deliberately place things in here; Gravity makes them just fall in.
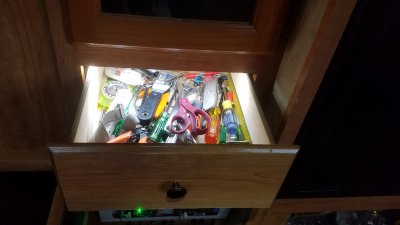 This drawer is above the Power Center. I can grab a tool fast.
No complaints on the brightness; It is super bright because this little drawer uses an intire LED strip.
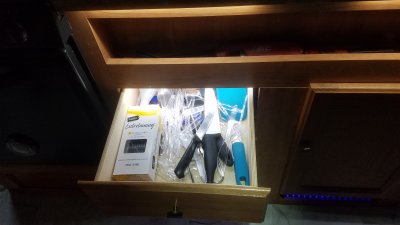 The top drawer below the sink has plastic forks. I have never washed dishes in the RV in over 9 years.
On my cast iron skillets, I only "wipe" them out. I keep the glaze or "seasoning" and clean up is easy without washing.
I use Pure Leaf Tea bottles for glasses. They are spill proof, disposable, unbreakable, and fit in the lawn chairs.
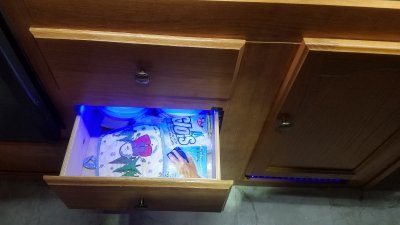 The bottom drawer below the sink was an experiment with blue light. ...Not too impressive.
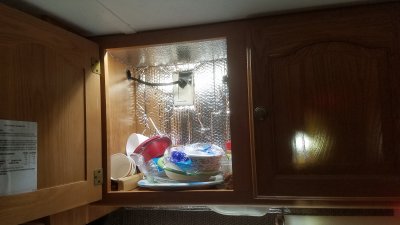 Here is one of the top cupboards above the sink. It is on the left.
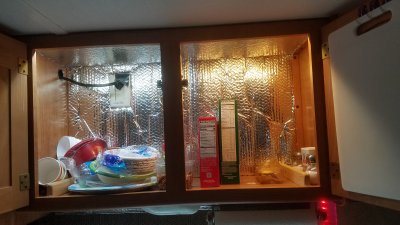 Both cupboard doors are open at the same time, and both sides lit, and contribute individually.
I suppose, I wanted to compare the two color temperatures, side by side.
But now that I know, it is too much work to take out the warm one. I never thought out enough beyond the curiosity.
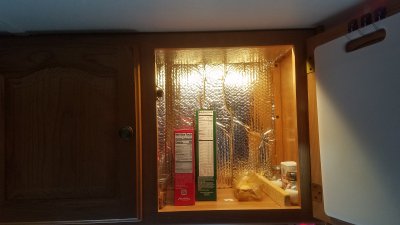 The light strip for the Right cupboard is a warm color. I do not like it as much as the 6000 degree White light.
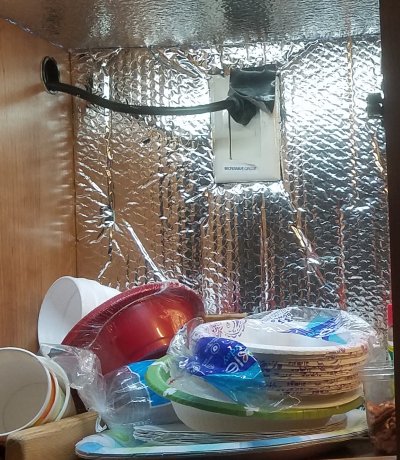 The paper plates last about a a week or two. 1/2 inch styrofoam is at the top on ceiling surfaces.
The back wall is, at present, only in Reflectix.
It is not as good as 1/2 inch styrofoam.
|
Psalm 33:6 |
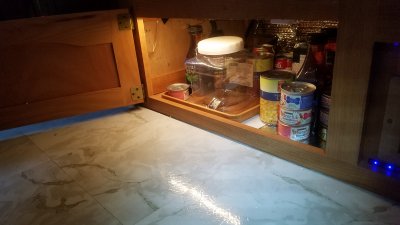 This cupboard is down on the floor, under the stove. I am getting rid of some of these cans.
I found a can of green beans that was 2009, the year that I got the RV.
I opened a can of pears that was 2013, and I could tell by the taste that they were old.
They were still sweet, so I ate them. I was trying to stay well stocked in case of an emergency.
But I guess it is not going to work...
 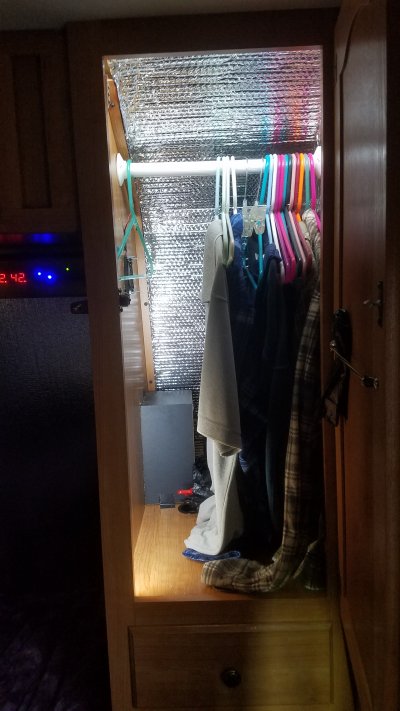 This closet is a half height, only for shirts, blouses, tops. Two of its walls are "outside" walls and are insulated.
One in reflectix, because it is a curved surface, and the other in reflective styrofoam.
The black thing in the back is a speaker for the left side of the bed.
Two striplights, one at the top, and one low on the left.
I have already raised the bar once. It came from the factory even lower than this. If I go any higher the coat hangers hit.
I guess the whole RV is a compromise. Nothing new...
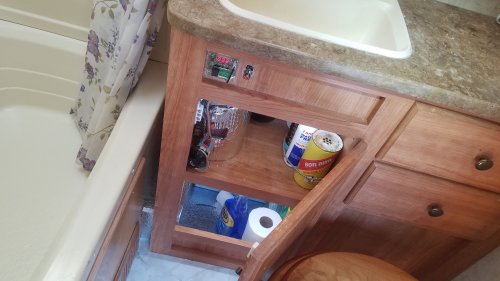 Under the bathroom sink there are two sections, both lit when the door is open.
You can see the Preheater for the faucet water on the top left.
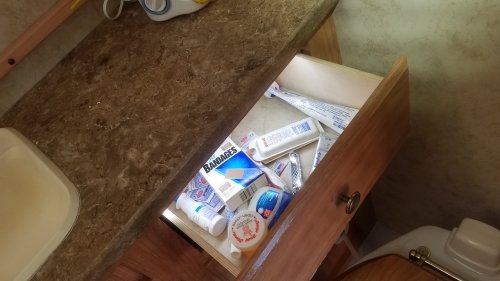 First aid stuff, and toothpaste.
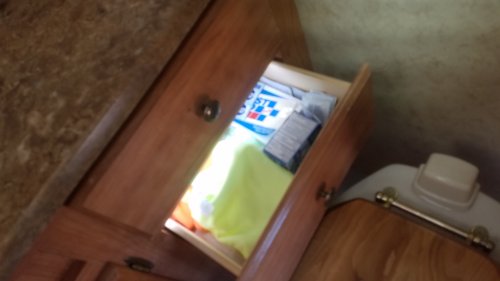 The rags do not belong here. But it is what it is.
 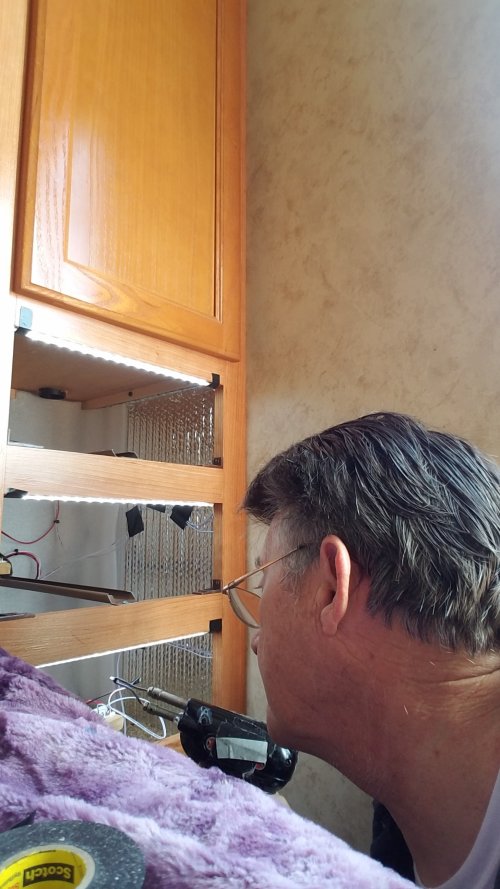 I will take a break here, and show you how I did the drawers. There are no switches showing, and there are no magnets showing.
All the Light Strips are stuck to the wooden rail just above each drawer.
The ends of each light strip must have additional adhesive on the ends.
The ends are temporarily held in place with gorilla tape while the adhesive sets.
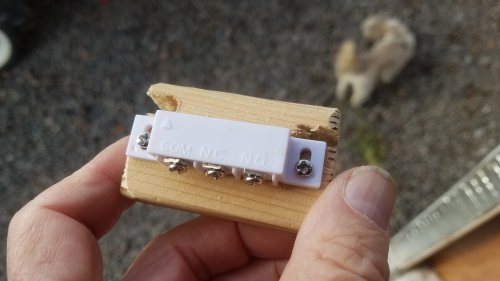 First, cut a block of wood, and place a switch, indented in from the edge.
The magnet will engage the front of the switch, and the magnet will come close to the screws.
Cut slots on the sides of the block to accommodate a tie wrap.
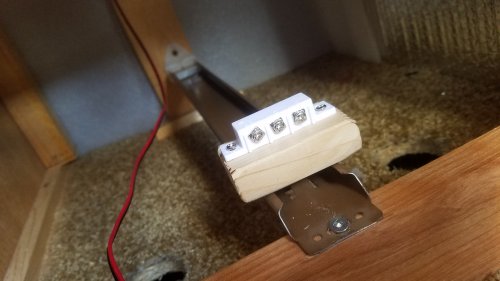 The switch on the block will eventually slide down the rail to the back. It is held in place with a tie wrap.
But to make work easier, I have given enough wire to temporarily slide the switch to the front of the rail.
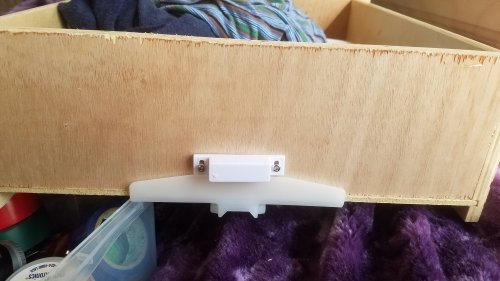 The magnet is placed on the back of the drawer, quite out of sight.
The magnet is placed the same height as the block of wood. It is perfect at the top of the plastic.
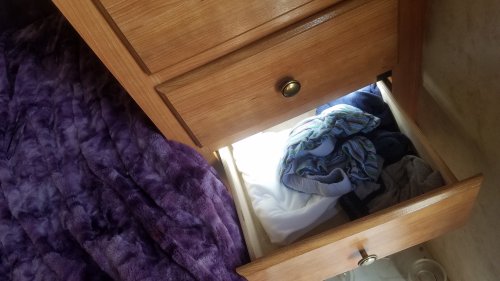 Here is the middle drawer of the three drawers. The mechanisms are hidden and not exposed to snagging.
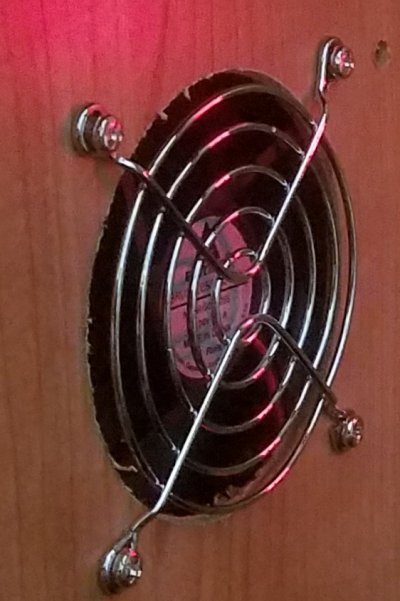 All the fans were of the 4 inch variety, or 80mm.
There were 6 or 7 fans of different construction: sleeve bearings, ball bearings, different volumms and loudness.
Ventilation work was done before the LED Lighting work on all the drawers, cabinets, closets and cuboards.
Also, this ventilation work is for Internal Ventilation only, and does not include the three external ventilation avenues.