| RV EMP ElectroMagnetic Pulse Protection |
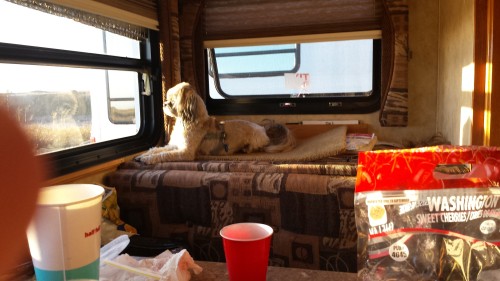 Here is what I have to work with: Three metal sides. That is it!
Not the usual four sides, because the backend side hardly counts,
as it is mostly a big glass window.
You need more than three sides for a Faraday Shield.
You need all six sides including a metalized top and bottom.
A sphere is best, a box will work.
I have worked in and around several Copper Screen Rooms, boxes all, which are real life Faraday Shields.
And they are never perfect. You can get over 110 dB attenuation, but never perfect.
In fact, a perfect sphere, with a perfect skin made of pure gold,
can be breached.
But still, nothing today beats a Faraday Shield because of its immediate practicality.
Starting out I have little to work with: a wooden box with a big window.
Better I could start out with a cargo container, a drone command center, or even an AirStream.
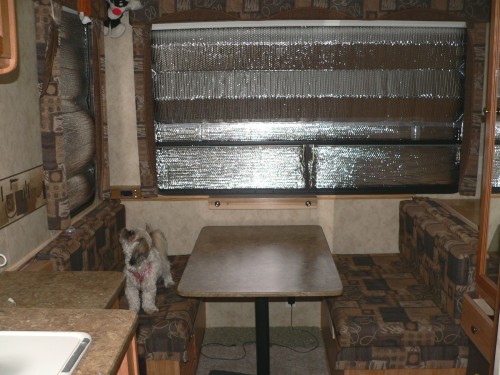 I began with the windows:
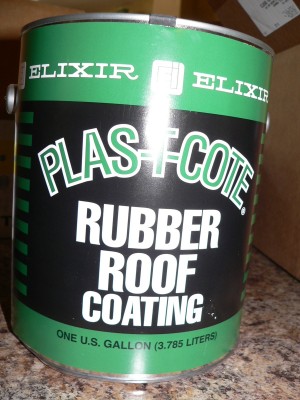 A rubber roof is also called a IPDM roof.
Do not use any petroleum based adhesives on a rubber roof. The rubber will swell and be damaged.
Do not use any paints on a rubber roof, they will not stick.
I have experimented. In six months paints will break loose, curl up, or flake off.
I have spent days scraping off a bad idea. What does work is Plas-t-Cote.
This not only works as originally designed as a coating, but also as an adhesive.
That is what I need: an adhesive, that joins rubber to aluminum.
I am laminating the intire roof in aluminum foil.
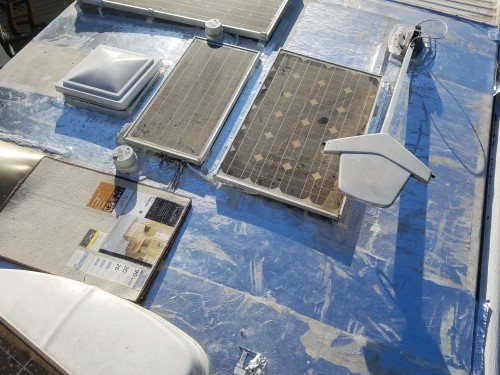 Foil is layed down with plenty of adhesive.
It is time consuming, as all air bubbles must be squegged out.
The process is similar to applying window tinting to glass.
Instead of squegging our water with the window tinting process, the concept is to squeege out any excess adhesive and air bubbles.
I have to use my fingers and palms to messaged out all air and excess adhesive. Window glass is flat and a plastic blade works well.
But this surface is soft and uneven, so the palm of your hand works great.
I have to chase these little lumps all the way to an edge, where they burp out either air or adhesive.
But it is well worth it: You can instantly walk on it.
And after it is dry, not only can you walk on it, but you can apply all your weight and twist your shoes.
I never dreamt that this would happen!
I thought that I would forever have to gently walk, or avoid the foil altogether.
Not so! The surface is as hard as a rock.
I still use some carpet squares, as you can see, mostly because of the underlying rubber.
The rubber is soft,
and a sharp rock, even a tiny one in soles of your shoes,
could penetrate both the Aluminum and the rubber.
The same care, as without the aluminum, still needs to be taken.
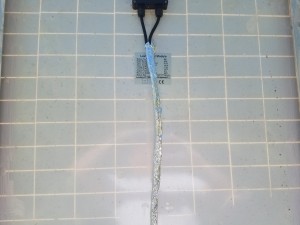 Here is the underside of a solar panel.
As I go, I rap and shield all wires in aluminum foil.
I am going "aluminum crazy";
I am using it for everything, and it is cheap.
...And effective.
The outside of the wrapping must be conductive, which it is. The wrapping lays on top of,
and makes contact with the aluminum roof.
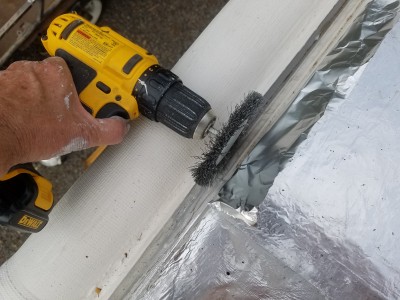 Bonding the aluminum to the sides is a problem.
The gutter is aluminum metal, which is great, and it connects to the metal sides.
I think this will work: Clean the inside clear down to shiny metal.
I use a cutter wheel on the thick stuff, and a wire brush to shine it up.
I use some adhesive to make sure it stays in place.
I am not too worried about the connection;
an EMP across an eight foot roof will develop tens of thousands of volts,
and because of the voltage, any non good contact will still pass current.
It will be exemplified by seeing a white double flash, and hearing many simultaneous "snaps" coming from a myriad of places,
and coming from many things. ...Then everything goes quiet for blocks and miles around.
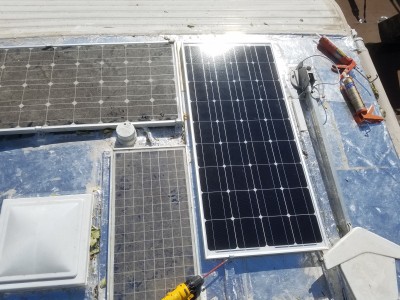 While I was at it, rearranged panels, and added a 100 watt panel.
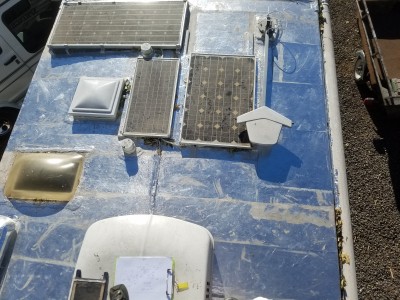 Work is progressing. It is slow.
All wires have to be wrapped in Aluminum Foil and grounded to the skin.
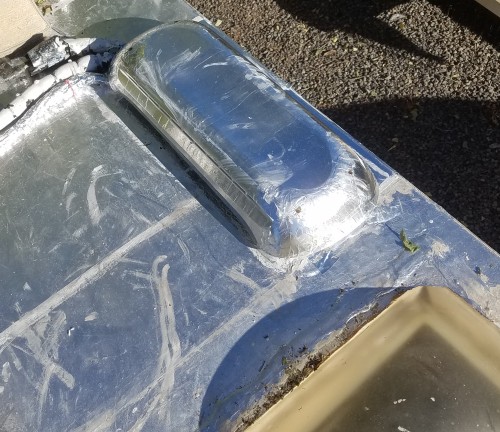 Turning my attention to the Refrigerator...
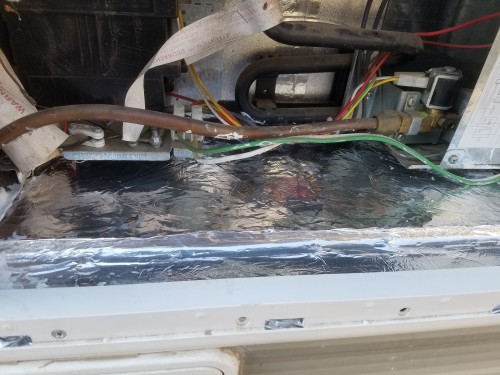 As a side note, and in preparation of the back Refrigerator access panel, I did some floor work.
The floor that the refrig sets on is like Particle Board. It can not get wet and would be sagging if I had not braced it from underneath.
Also,it is ugly, rough, and can not be kept clean. I decided to laminate it in Aluminum just as I had done to the roof.
The aluminum is a hard surface, it is slick, and can be more easily cleaned.
Also, if I forget to stick the condensation hose through the panel,
the dripping water will not damage the floor.
The resurfacing will not help with EMP, but I will get to the door panel later.
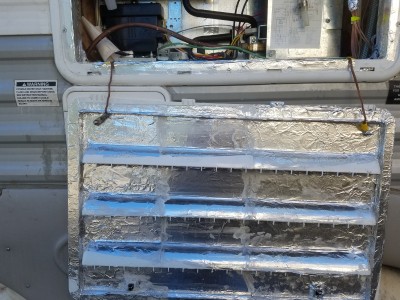 Here I have laminated both the frame which is mounted to the sides, and also the edges of the panel.
So that when the panel is shut, it is inclosed on all sides with conductivity.
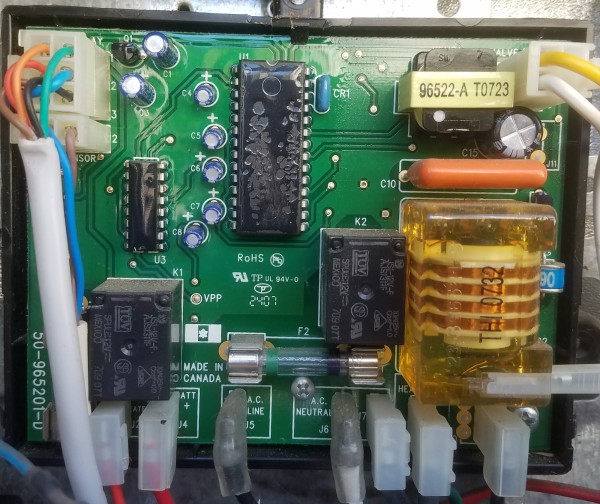 Here is the Refrigerator Electronics Board on my Dometic DM2652,
or Power Module, with the cover off.
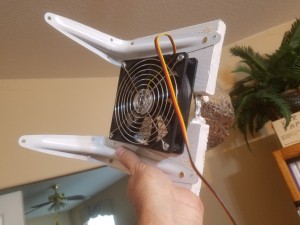
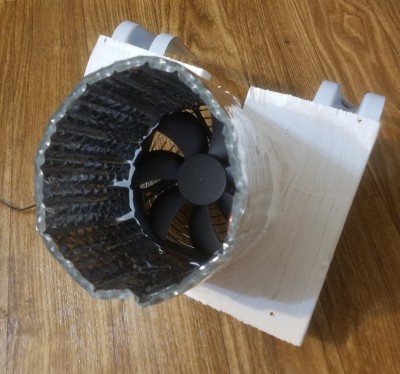 I will mount with ductwork to increase flow direction.
Just like there is no such thing as a MonoPole magnet, there is no such thing as a MonoFlow fan.
The duct is made of Reflectix; some scrap found conveniently laying near by.
Sealed with epoxy and paint.
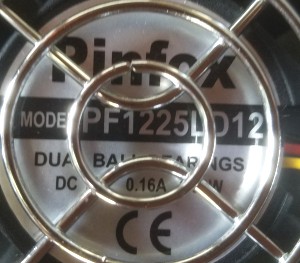 This fan is absolutely quiet. It was designed for a quiet environment like for a computer case.
PinFox, Dual ball bearings.
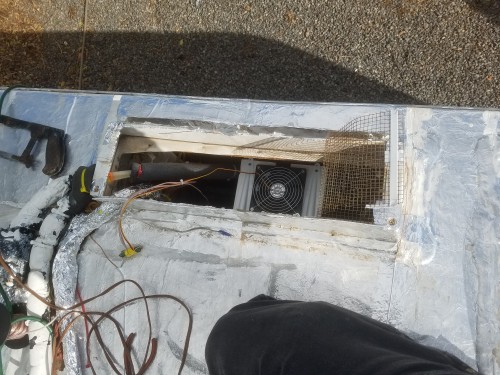 The frig vent with the cover off.
Clipped the screen and pealed it out of the way. Installed a capacitor at the fan leads.
Installed the fan somewhat in the center of the vent, near the top, and braced on the near side with the angle bracing.

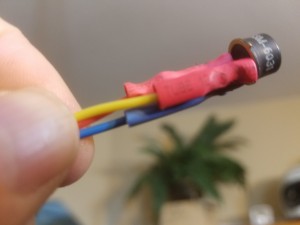 In the case of an EMP, the transistor can short from collector to base. This would allow a second way to energise the Gas Solinoid.
EMP damage could turn on the gas!
Without the 500 ohm resistor (and the diode) the gas solenoid can be energized.
And, to make matters worse, it is energized without the piezoElectric Starter;
Raw gas would be flowing in the chamber, and it would be looking for a source of ignition.
The situation would be bad enough with the EMP strike.
Besides the lights out, no food, and no car; One side of the trailer could be blown out.
The refrigerator placement could change too.
But the 500 ohm resistor and diode fix the problem.
The 500 ohm resistor might inadvertantly allow the solenoid to remain pulled in for a while,
but it can not allow a pull in from a de-energized state.
The resistor and diode are an important safety feature, but only a safety feature.
They have nothing to do with the basic operation of the circuit. I just wanted to point it out.
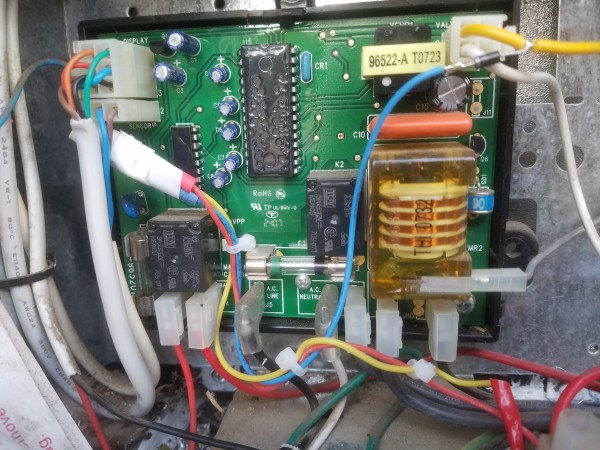 Here is the installed NPN, laying on the surface of the Power Board in white tape.
It will be more protected with the cover on. The only offensive intrusion is the diode connection at
the top of the plug, but at least everything is out of sight under the cover.
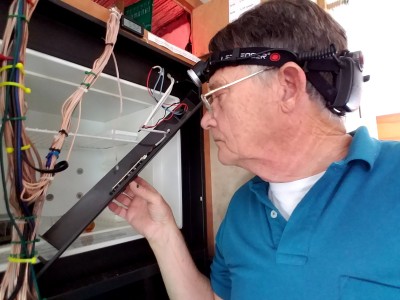 The refrigerator control panel comes off easily with just two tabs.
And there is plenty of room for an LED.
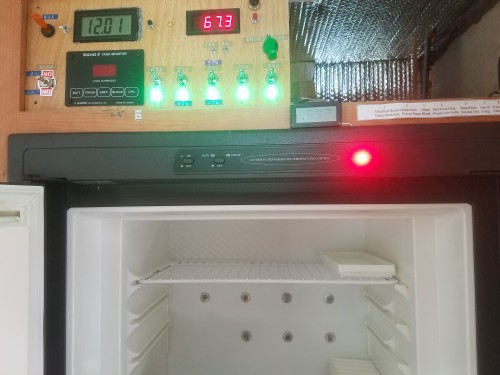 The indicator LED works great.
It means there is gas turned onn.
And it also indicates that I like bright lights, but that is vividly obvious,
and I did not have to tell you that.
You have to be blind to miss this bright red light. Love it!
The shy stock yellow led lights that came with the frig are very very dim. Hate them!
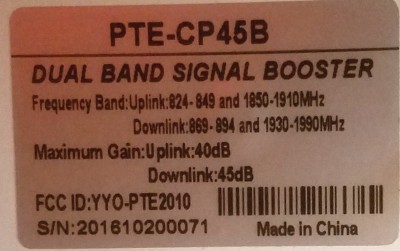 To solve the problem, I purchased a cell phone booster.
It uses a real antenna, a better antenna, and an antenna in a better location, which in my case is high on the roof on the air conditioner.
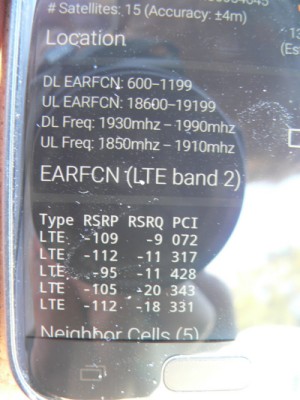 I installed a Signal Strength App for my cell phone.
You might like it as well. It is called LTE Discovery, and has a lot of information.
It has direction of the chosen signal, Lat and Lon, signal strengths of all towers in the area.
I am an Engineer by profession and nature, and I enjoy this app. Everyone should download it.
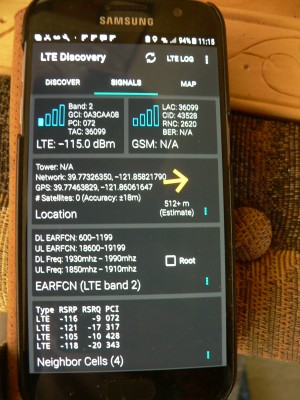 The pamphlet that came with the booster unit described something totally different from what was advertised.
The pamphlet stated that you must have a cradle for the cell phone,
or use their velcro straps to fasten the 2nd antenna to the back of the cell phone.
The advertizement led one to believe that one could walk around the RV a short distance
from the 2nd antenna.
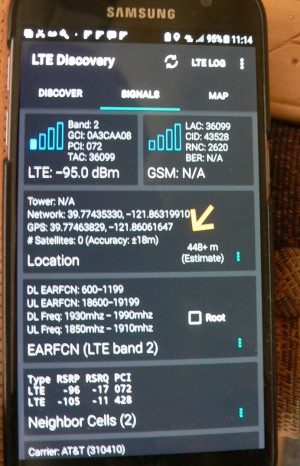 The signal inside the RV with AMP power turned ONN, the arrow flips around, indicating the signal is coming from a different direction.
The signal inside the RV with AMP power turned ONN,
cell phone setting on top of the 2nd antenna, is -95dBm from tower 072.
The cell quality is -17. Much worse. I think RSRQ is Received Quality.
I will look at this quality thing later.
So the unit does work, but wether I can use it remains to be seen.
The unit gives a gain of 10dBm which is over 8 times in power (Double for every 3 dB).
That part is OK. Well, actually not that impressive:
the signal strength VOLTAGE increase is only 3 times.
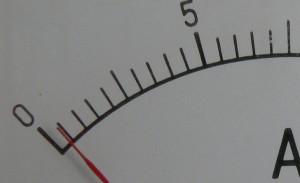 The current shows 0.8 amps, but there was 0.18 amps being drawn before.
Therefore this amp pulls about 0.6 amps. That is too much idle current.
That is too much for in an RV, at night, to just be turned idly onn all the time.
They deceived me on the description, and now the unit is sucking on too much current.
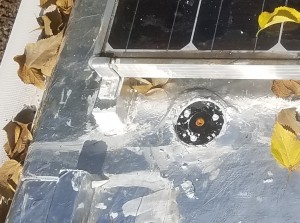 I have spent 6 hours yesterday trying to install this thing.
I thought that I could trade the AM-FM antenna cable, which I do not need, for the new cell phone antenna cable.
I thought that I could simply pry off the putty around the AM-FM radio antenna,
and use that antenna cable to pull up a pull string from down below.
The pull string could be used to pull this cell phone antenna up trough the walls and part of the ceiling.
Everything was going well, I had both ends of the old AM-FM cable disconnected,
and I could move it, and I knew for sure that I could pull it out.
But after tieing on the pull string, it snagged. And it snagged good.
I tore out part of the wall in a cabinet where the damage would not be seen.
But it was snagging just above that, where my fingers could not reach.
So I measured very carefully exactly where the blockage was.
I used a sharp ceramic knife to cut out a square from the wall.
This is something you do not tell your wife about.
This is not for the faint of heart. This was going to show, so I needed as thin of lines that I could cut,
because I was going to put the patch back in the wall, and keep it a secret.
That ment a thin knife and a lot of careful work.
After I removed the cut out section of wall,
I could not believe my eyes, somebody had stapled my antenna to the stud| A damn staple!
I quickly removed the staple and gave it a well earned throw.
Now the cable was free again, but only to snag again. This time 6 inches above the the old spot.
And it was just out of view of my cut-in-the-wall window.
I could tell, with a long screw driver, and searching up the stud,
that it was again another staple.
With some effort, I was able to remove that staple too.
I gave it a fling in the same direction as the other.
And now - FINALLY - the cable was free again.
I pulled up a huge 5 feet, it was moving good, and it looked as if I was going to make it.
But no, I hit yet another snag. I only had 3 feet to go! The snag was at the top of the ceiling.
Here the wall paper had no design, no pattern, no lines that I could use to hide my cuts.
If I cut into the wall here, it was going to show. It was going to be a deal breaker.
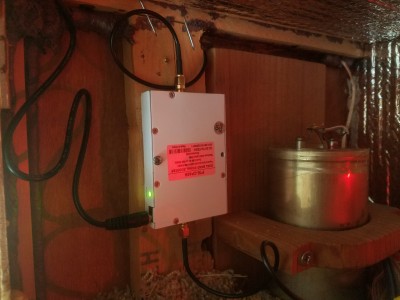 I abandoned the work on that side of the trailer,
and instead decided to install the antenna on top of the air conditioner,
and come down through the refreg vent. Went well.
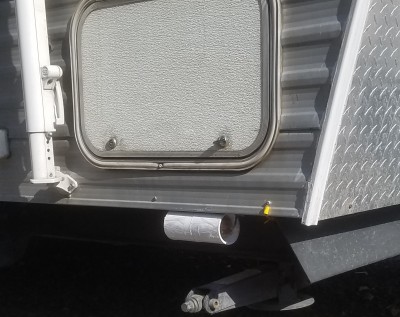 My WWV Antenna for the Master Clock was easy.
I simply had to remount it on the outside of the RV.
The RV before was so poorly shielded that I could pick up Fort Colins anywhere in the RV.
The signal was coming through the windows, roof, and floor. Not much was shielding the signal.
Also, even if there was some shielding, the frequency penetrates well in general. It penetrates mountains, trees, and RVs.
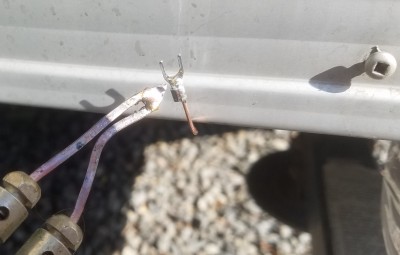 Here I am preparing 16 gauge copper wire to be strung underneath the RV.
This is hard annealed copper solid core, so that it can not be crimped. It must be soldered.
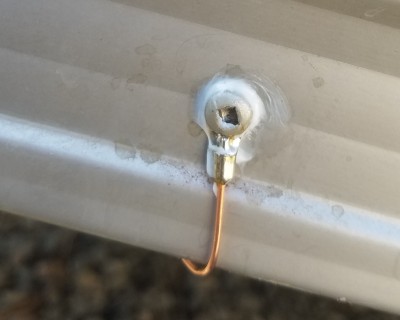 Seal inside the hole, under the aluminum, and around the screw. More is better, and never enough.
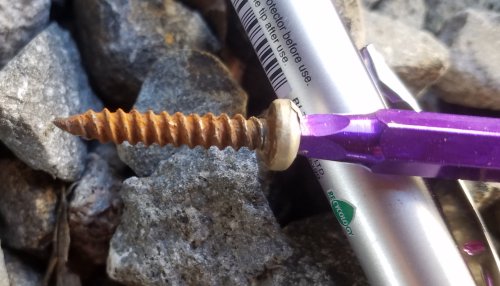 If, after removing the screws, they have rust, as these do, then water is getting in.
About half are rusted. The unrusted are totally unrusted and clean.
I try and fill the screw holes with calking. And even inject between the aluminum and wood. Replaced the bad screws.
Unfortunately, I will have to remove all my screws and seal, wither they hold copper runners or not.
Unfortunately, the manufacturer forgot to weather proof screws of the RV, as I see no screws are sealed.
I guess the workers at the factory never heard of rain ingress.
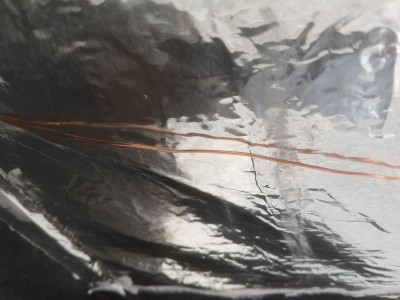 Under the RV, under the fabric, I have glued aluminum foil.
I do not know if this procedure will work here. There are differences from the hard roof.
Underneath the fabric can move, flex, and wave in the wind.
I do not want to be throwing off shiny chaff behind me as I go down the road.
Nor do I want to be accused of running a flying saucer and that is loosing shiny debris.
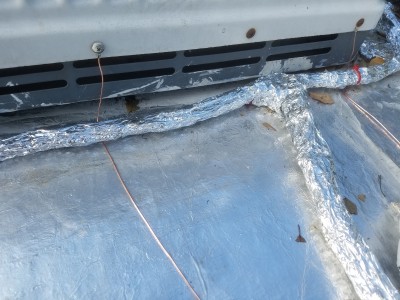 Back up on the roof...
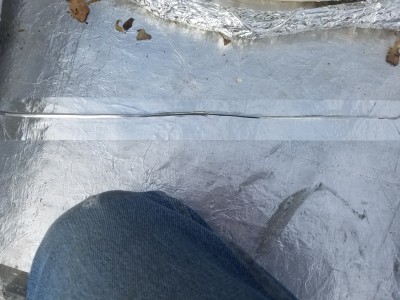 Here, I am covering the copper wires with metalized tape.
Not only does it form a good conduction, but keeps the wire down so that I do not trip over them.
Do not buy the metallized Duct Tape, it will not stick. I bought my metalized role at OSH.
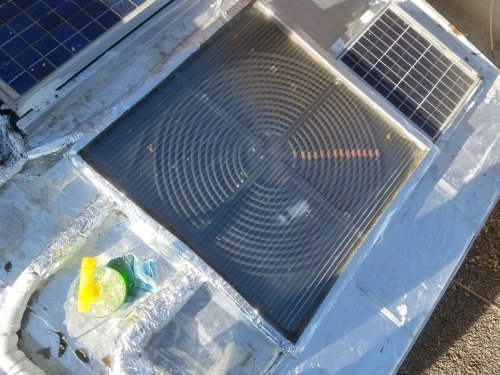 A comment on the Solar Hot Water Panel...