| Putting it all together... |
 I am reaching for the calculator...
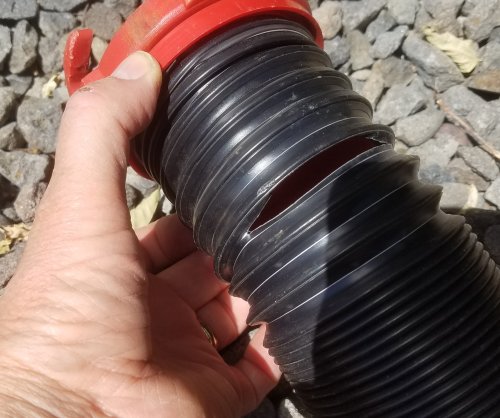 After several years, the old sewer hose has a rip. I got by this time, by rotating the rip to the top.
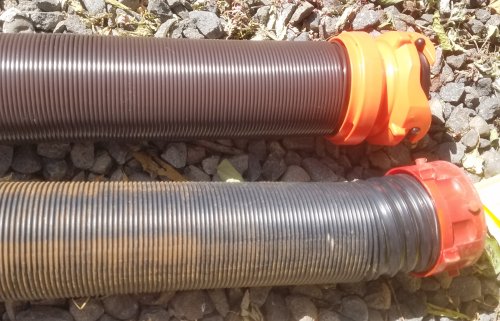 Here is the old hose next to the new hose. The new connectors are larger and do not fit in a standard 4 inch channel.
This information is not disclosed by the manufacturer. I still purchased the hose because a reviewer said it would fit a standard 4 inch.
It does not fit. At least it does not fit my Keystone 4 inch back bumper.
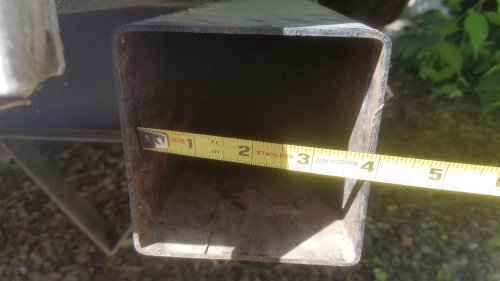 To see who made the mistake, Keystone or Camco manufacturer, I took a measurement of the Keystone back bumper Channel.
The measurement is 4 inches outside, not inside ID. I still do not know who is at fault with a confusion factor of inside or outside dimensions.
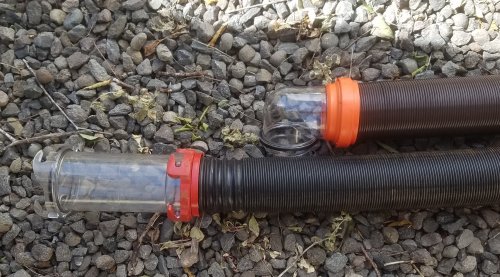
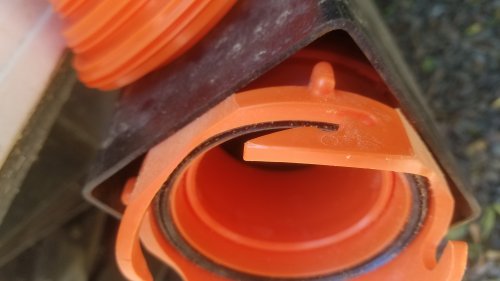 So, I took a belt sander to the new hose, shaved both ends down about an 1/8 inch. It now fits!
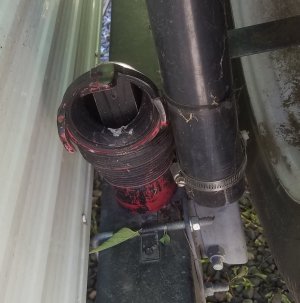
After the grinding, I thought I would need to use a stick from the other direction to get it back out.
But no... It can be pulled from this end.
And it pulls easily. I have been blessed.
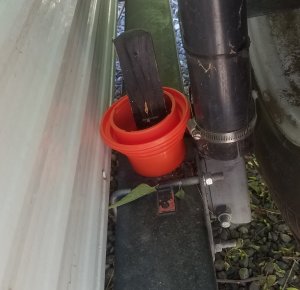 And here is where I store another part, and it diffenitly will not go into the back bumper.
A 90 degree elbo that actually contacts the sewer where dozens of people have frequented.
Or, perhaps I should say "hide" it here. It goes behind the spare tire on the bumper, and just fits over a 2by2. Simple.
I used to have a screw also secure it.
But in many years it has not jumped off yet.
The bottom line is that I have a superior way of storage than the multimillion coaches that store this stuff in an internal bay.
I can eat out of my bays, and refuse to have an oily generator or sewer hoses in any of my bays. That is disgusting.
And that is called dirty camping. The idea is to get away from the bad. Get out in the fresh air, and healthy invironment; not bring the crap with you.
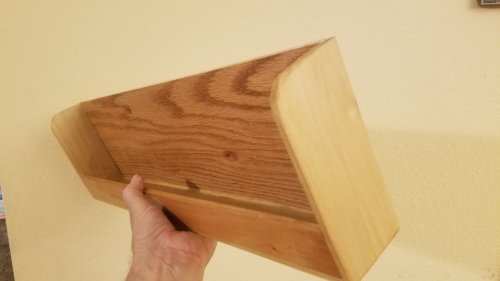 Linda says she wanted a shelf in the RV. Ya, I made one! Got it varnished too. Can do it in my sleep.
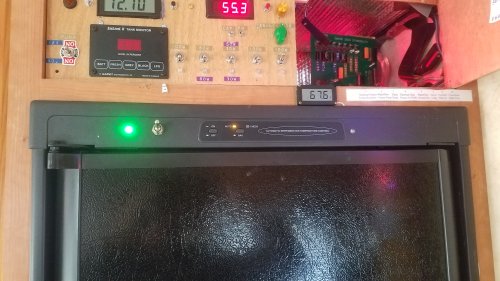 Finished the refrigerator modification to fix a factory defect on Dometic's DM2652 of no temperature regulation.
Installed a switch to kill 120VAC to the refrigerator.
Installed a red LED indicating when there is a fire suppling heat.
This is in the Gas Mode. Installed a green LED to indicate when 120VAC is supplying heat.
Installed speech to vocalize these two events.
NEVER MORE will I not know when the damn thing is, or is not, regulating! I have visual indications and vocals.
I describe over in the Refrigerator Section how I do not tax or burden any of Dometic's native circuits.
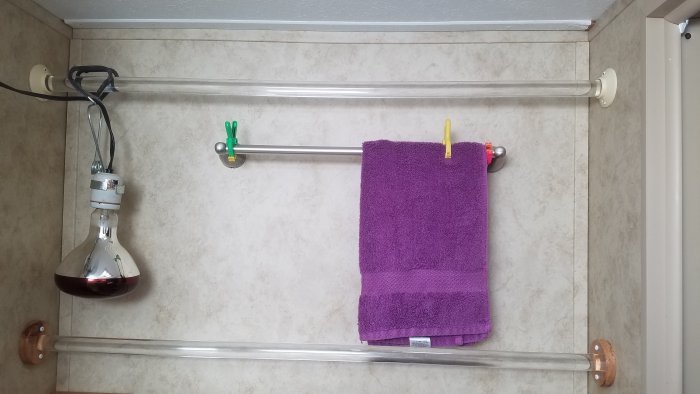
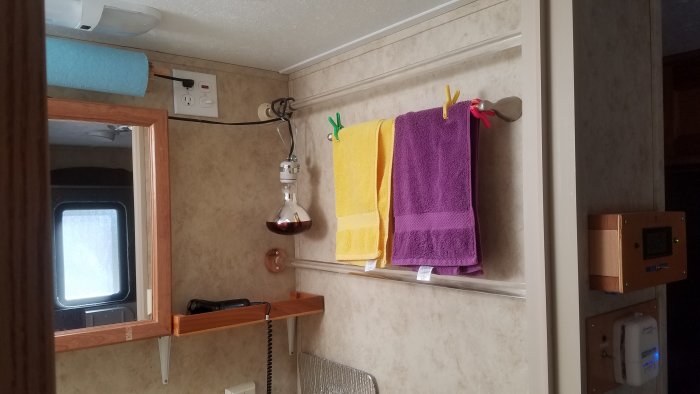
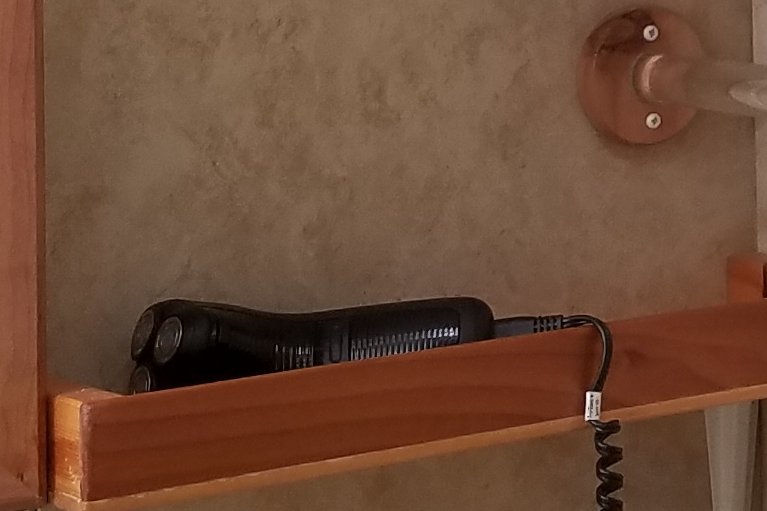 I made the end holders for one of the rods out of a cedar board.
Cut two concentric circles. So simple!
The inside one is a one inch hole. Made the razor holder also, but it is not a razor holder.
Just someplace to put it.
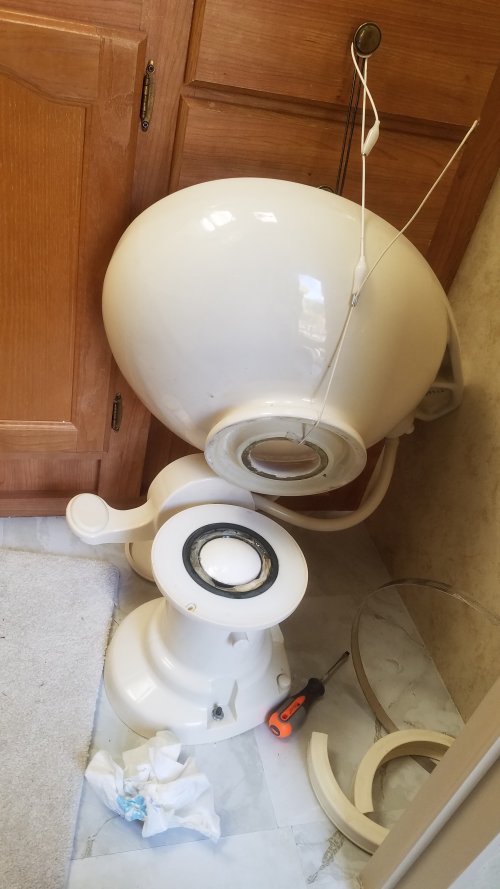 I replaced the ball last year. Now the ball seal is going. I should have replaced it when I did the ball.
But it is supper easy to replace; just need a screwdriver and some silicone past.
The toilet just splits in half, and the seal just sits on there.
That is what is nice about the RV:
There is nothing that the average man or woman can not fix. Super fun, and super simple.
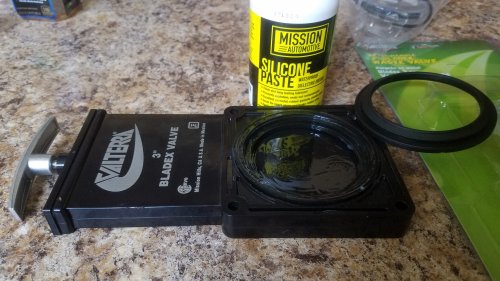 For as many years that these valves have been used, they are holding up.
There are two: an inch and half for the Grey, and this three inch for the Black that I got off of Amazon.
For the last week this valve has been leaking just a tiny bit. Just enough to leave a surprise behind the end cap.
I was thinking it must be an undigested piece of toilet paper that got caught in the slide action. But no...
It did not clear or get better. So the valve is coming out. And its simple to replace, not much more than an after thought.
There is more to the "prep" than to taking out the four bolts, which takes less than 20 seconds with a socket adaptor on your drill.
The prep involves one of two things: When you dump, prior to this work, you need a few degrees RV tilt to the left.
If your dump is perfectly level, then instead, when you do the work, tilt the RV to the right with the levelers (gently), or jack the RV, or the easiest; drive up on block levelers.
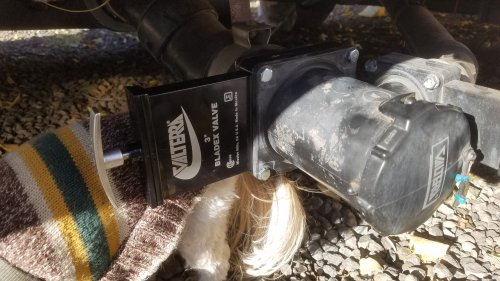 The valve itself is sandwiched between the two sides, and secured with 4 bolts.
The little Woofer thinks she smells something, and she is in my way.
If it smells bad, she always wants to help. She thinks she can help with her sniffer.
I guess my valves have been doing good to get 10 years from when they were new.
This new valve should go longer, as I have lubricated it well with silicone paste.
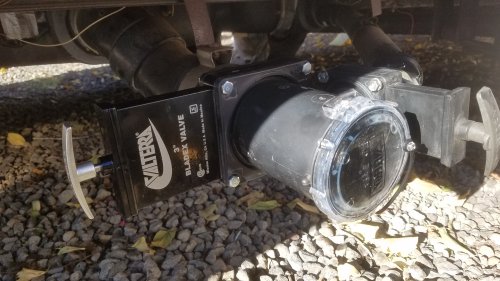 ...And to fix the "surprise" thing, I bought this see through clear End Cap.
When a valve is going bad, I want to know about it ahead of time.
|
The most beautiful thing we can experience is the mysterious. It is the source of all true art and science.
Albert Einstein |
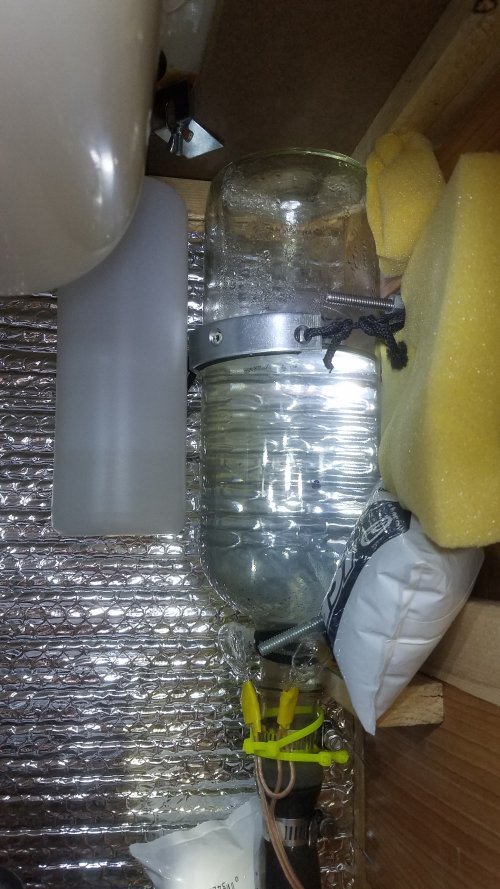 Installed draining valves on the two Accumulators. Now I have complete draining (or recharging) of the accumulators.
They had not been draining completely with the underbelly hot and cold drains.
Recharging is what my Dad would do when our pump tank would become "water logged".
In a nuclear sub it is called "going solid", and a solid accumulator (pressurizer) can kill the sub.
And in a nuclear power plant the accumulator is much more involved, and is called a pressurizer.
I really can not compare an inverted wine bottle to one of these.
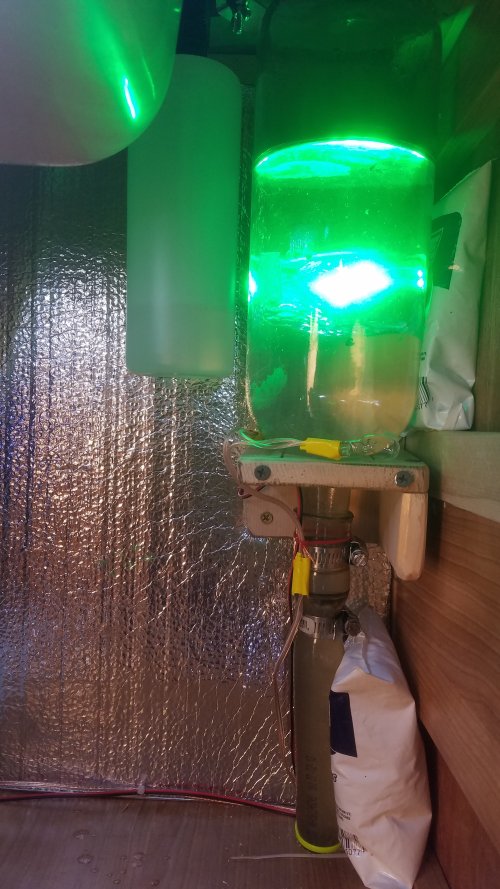 Update:
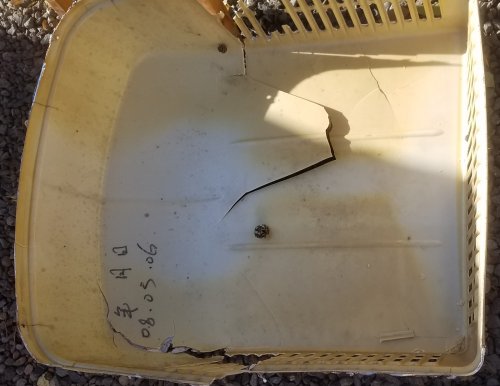 The AC shroud has had it after 10 years. I bought the RV new as a repo in 2009.
You would assume that the shroud is 10 years old;
But in looking at the writing on the underside of the shroud, apparently the shroud is a 2006.
The mounting screw holes begin cracking out in only 6 years from flexing, leaving the shroud to dismount somewhere along the road.
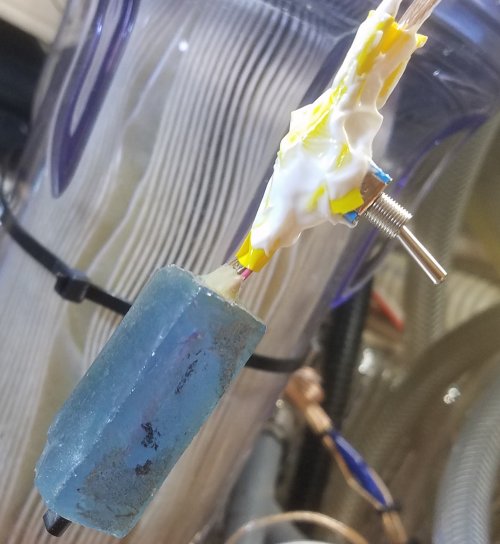 Here is the Temperature Sensor for the inside cabinet air for water lines.
The sensor in blue epoxy is a LM34. It feeds a microprocessor. It has three lines: a 5 volt, a ground, and a signal line.
When inside temperatures drop to 33 degrees, all little incandescent heat lamps come on throughout the trailer.
Around water filters, water lines, accumulators, water pumps, etc.
The 12 volt lamps are wired in pairs. Each two are wired in series to reduce the voltage to 6 volts.
This way the lamps should practically never burn out.
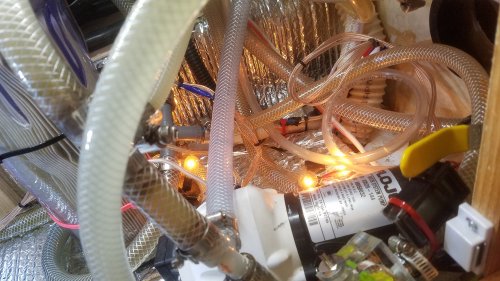 All the heat lamps come on, and the event is vocalised throughout the trailer. The event is announced in spoken words.
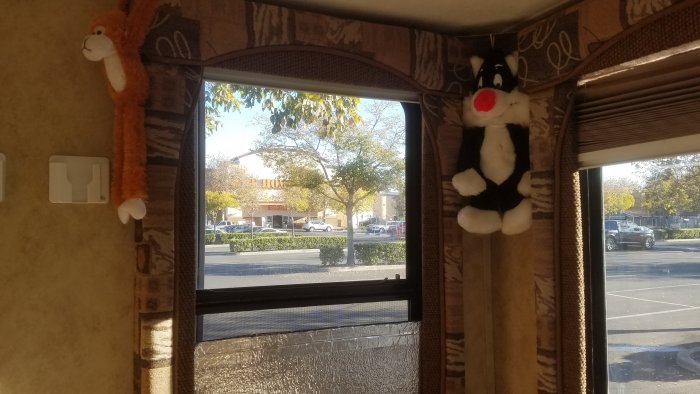 Sleeping at the Home Depot in Yuba City.
  And eating at the Sizzler...
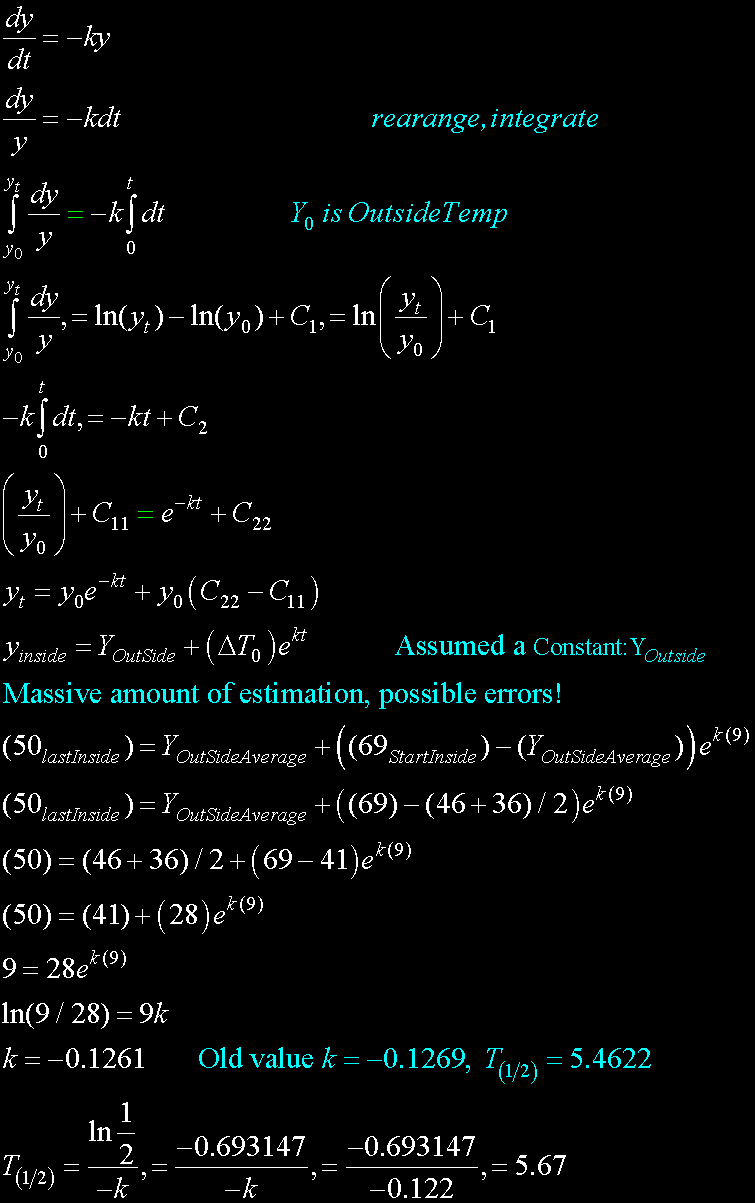 I did not plan to measure the insulation of the RV.
But it has been years sense I looked at it.
To get a measurement, the outside air temperature should be a constant. It was not.
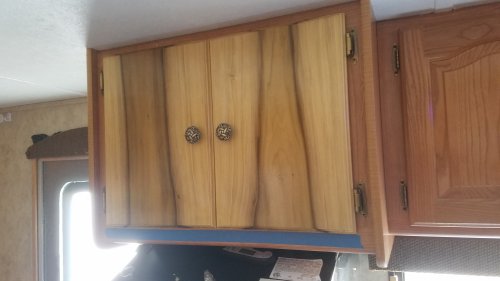 Removed the microwave oven. It was too heavy for RV use. And the weight was high up near the celling.
Not good for the center of gravity.
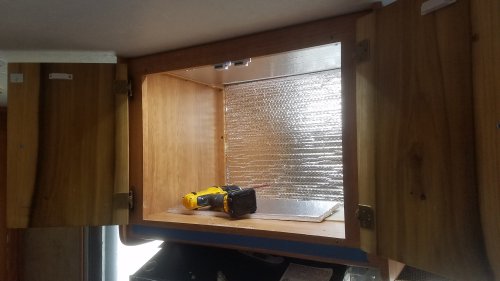 Put magnetic latches with already closing hinges. Installed the electrical: Two magnetic switches, wired so that either door open lights the interior.
Everything is perfect, even those varnish wrinkles. Perfect!
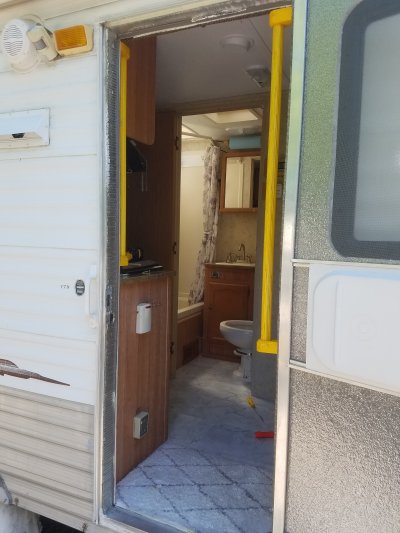 I do not know if anyone has thought of this before...
 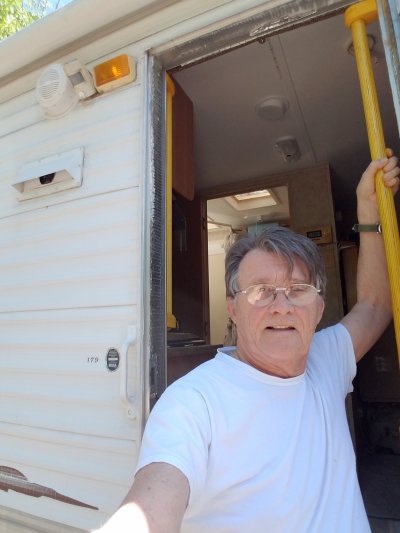 I went to HomeDepot and purchased a 6 foot length of 1 and 3/8 wooden dowel.
I cut it into two sections, one for the left side and one for the right.
I dyed, not stained, it yellow. And I dry fitted everything together. It is strong:
Three screws in every mount, and all into the studs.
I have a reason for the yellow. Yellow was the only dye color that I had, and I refuse to use stains anymore, after I discovered dyes.
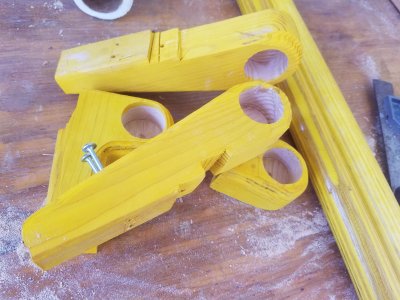 It takes awhile to cut these braces. Had to throw away two.
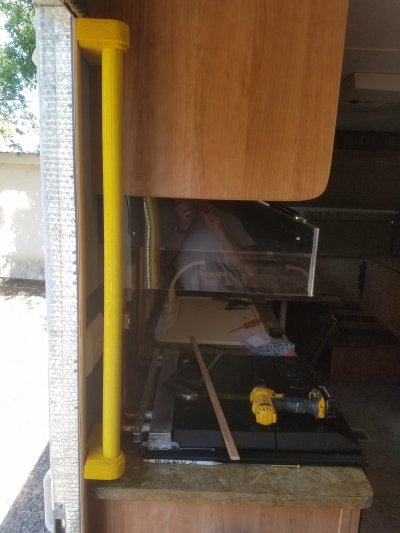 Now, I need to sand and varnish. Linda says the hand rails will get a lot of use. Yes, from me too. Darn right, these are great!
Wow, Linda likes them so that she does not care what color they are. And she is a girl!
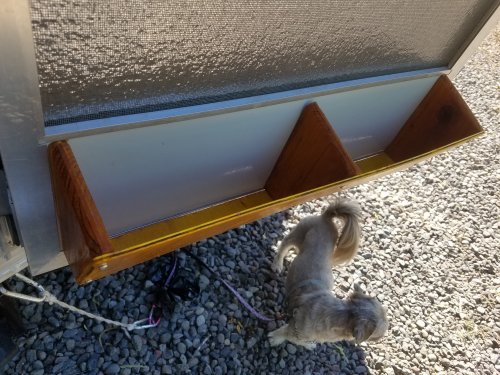 No RV manufacturers have figured out where to put your shoes. Especially with RVs, you can not wear shoes inside.
Obviously, dirt is everywhere with an RV, it is the nature of RVing, and thus a challenge to keep the RV playground dirt out of the RV itself.
So sad and barbaric to see fishermen, hunters, and campers give up on keeping a clean floor.
It does not have to be that way! More progressive RVers have solutions.
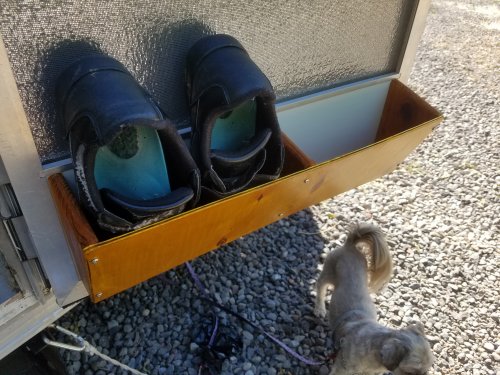 My shoes are big, and Linda's shoes are small. So, I made two sections.
And is it fast! I can put two shoes in at the same time, and with two fingers.
I carry the shoes by the heels with two fingers. I can put them in the same way: In or out with two fingers.
And it makes me feel good to have thought of it, and to have thought of it before anyone else, and to have built it myself.
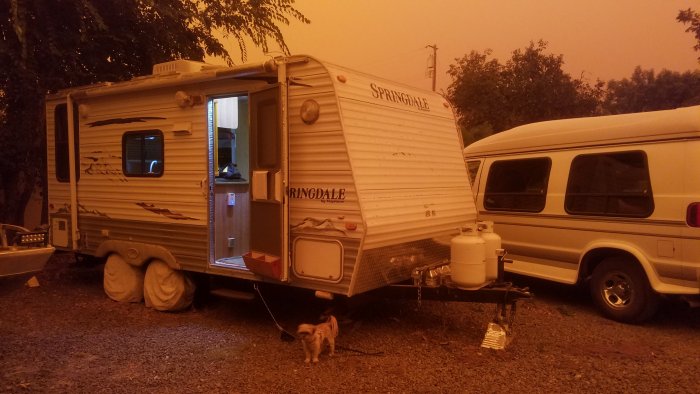 Orange color everywhere...
 Friends driveway...
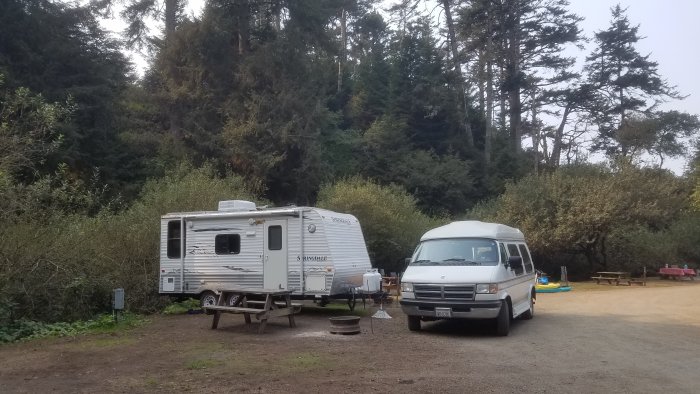 Mountains are good, but ocean is best.
  So, I ordered this three phase cam switch from Amazon.
I could have ordered a two phase, which also will work in an RV, but I do not mind an unused set of contacts.
This switch does not have to be used for three phase work; generically, it is a three pole, double throw switch; 3PDt.
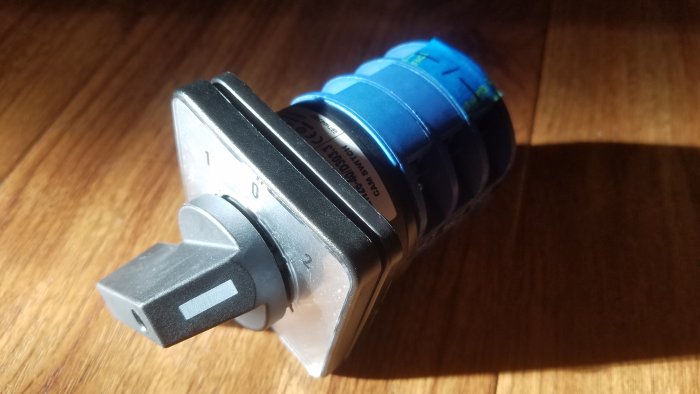 Anyway, a switch must be used to convert ALL outlets to one system or the other. They are not compatible.
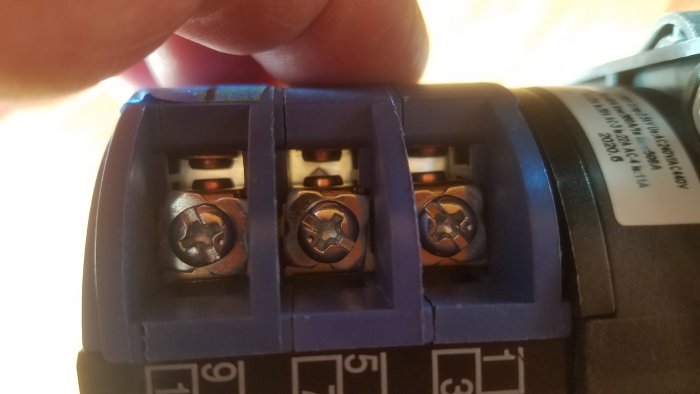 One of the problems with power selectors, is that always you have to have a "Break" before a "Make".
In looking across at the contacts, you can see daylight.
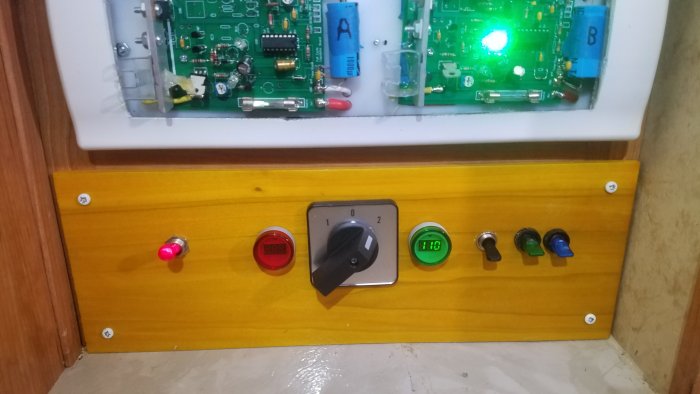
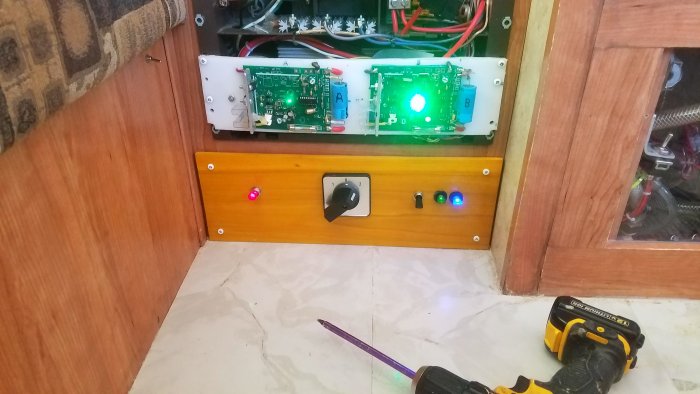 Here is the switch installed.
 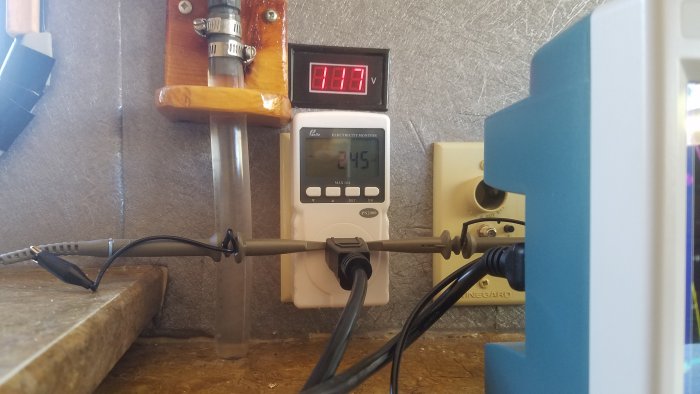 I have selected an outlet:
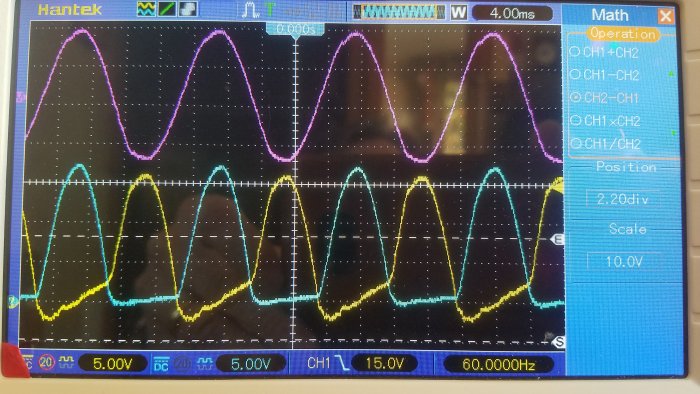 P60 service, inverter service.
 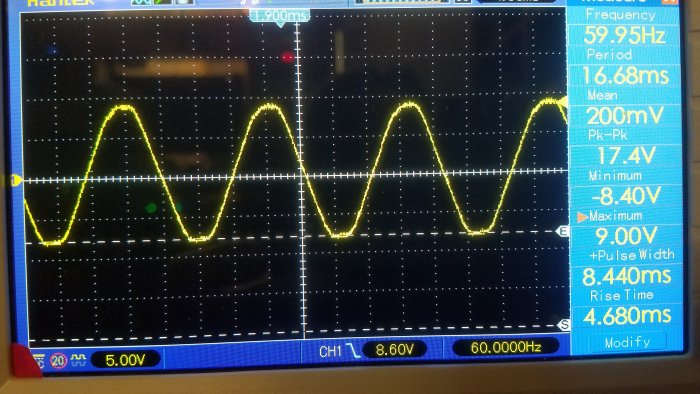 Here is the selector switch on position "1"; "Shore Power".
Shore power is different, and has the Neutral connected to Ground at the Pedestal.
Similar to House Current with the Neutral grounded at the Entry Point.
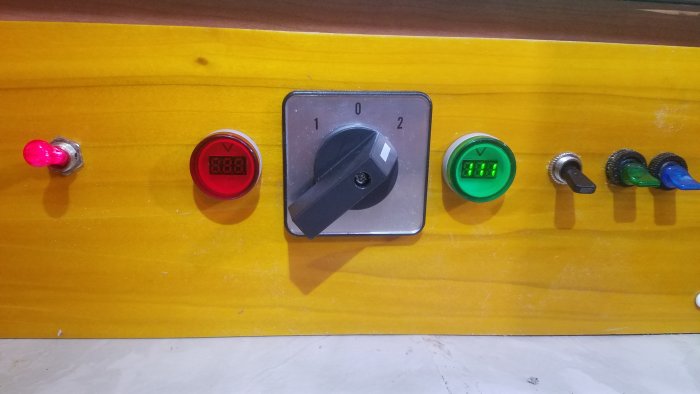 Here I added meters, one to each side. These little round meters indicate when the power source is ready.
Originally, I wanted indicator lights. Bright lights. Bright lights to tell when power was up and ready.
But what I got was very dim lights, and a reading that is way off. It says 111 volts when, in reality, it is 118 vac.
So, it would probably be better just to have a bright indicator light. Oh well...
 I lengthened the wires on the back side. When the panel is laid out on the floor, I have plenty of room to access the wires.
Before, I could not remove the panel, and had reach behind behind in a contorted position to access anything.
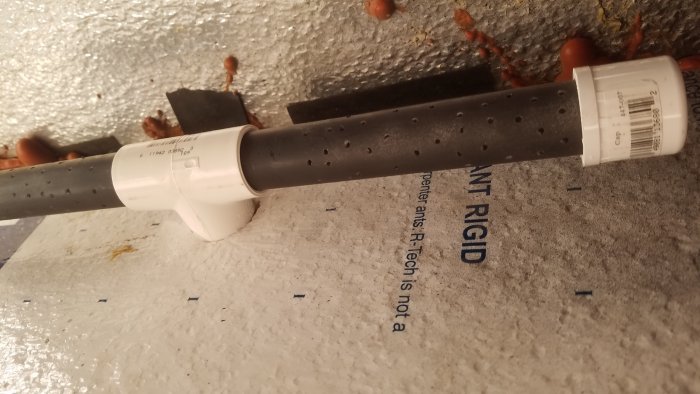 Now for some fresh air. I took a couple of 3/4 inch PVC pipes, and drilled tiny holes, all over, so that ants could not get in. Painted black.
Fitted into a Tee. Drilled hole into floor, and inserted up through.
The styrofoam insulation prevented me from locating the floor joists from below. That would have been a piece of cake,
to feel through the soft fiberglass insulation and located the joists.
I managed to drill three test probing holes from above that probably did not damage the joists too much.
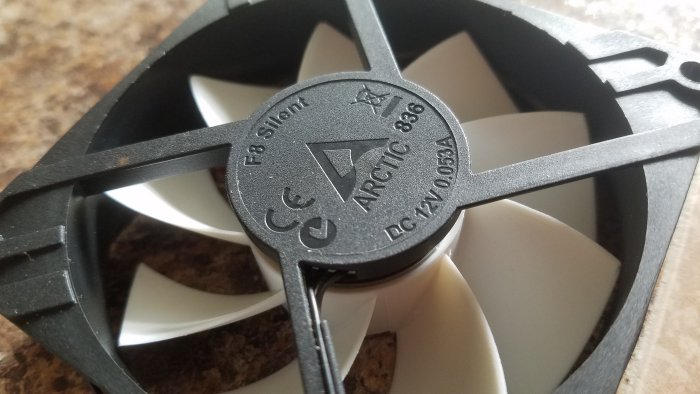 This is the second of this type of fan that I bought. The other is installed in range hood of the stove. There, it is an Oven-Heater vent.
Both fans are very quiet. This one is inaudible. The Oven-Heater Vent has multicolored wires; This one has black wires.
Both have a bright blue label on the intake side. Pictured is the exhaust side.
 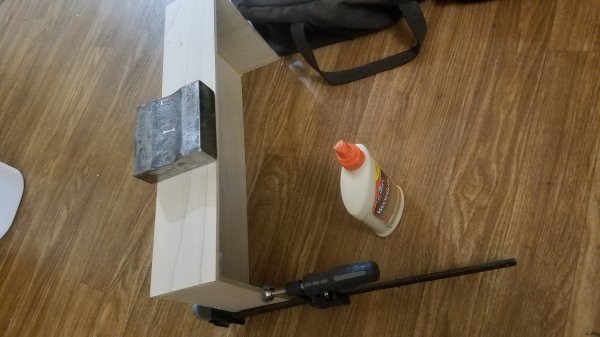 The inclosure must be air tight.
The PVC will go into the inclosure, were the fan will be located, and from there, blow fresh air into the room.
Here, I am glueing and clamping a box inclosure together made of Popular, that I later dyed yellow and varnished.
This box will inclose the fan, and will be a reservoir of fresh air supplied by the PVC pipe.
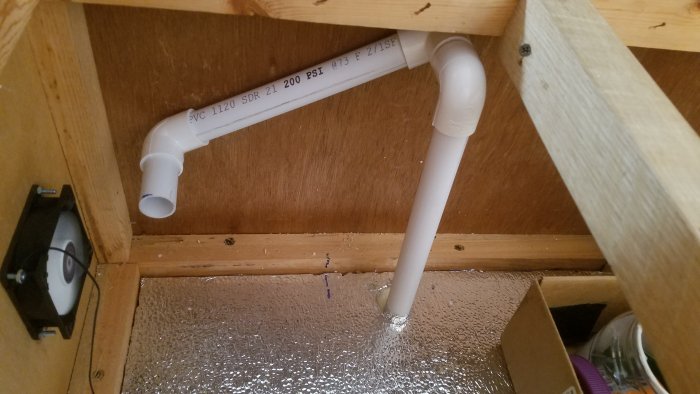 The PVC comes up out of the floor, and with a "90", hugs the side. Originally, I hit part of a stud, and had to move over about an inch.
I originally hoped the pipe would be totally out of the way. It is not. I wanted the pipe to come up through the flat trim board.
But no. That is exactly were the joist runs. So darn, I am out a couple of inches out inside the inclosure, and have to angle back along side the paneling.
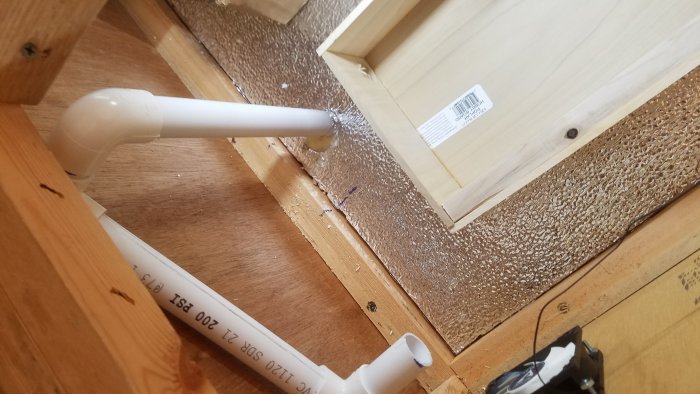 Preparing to dry fit the box...
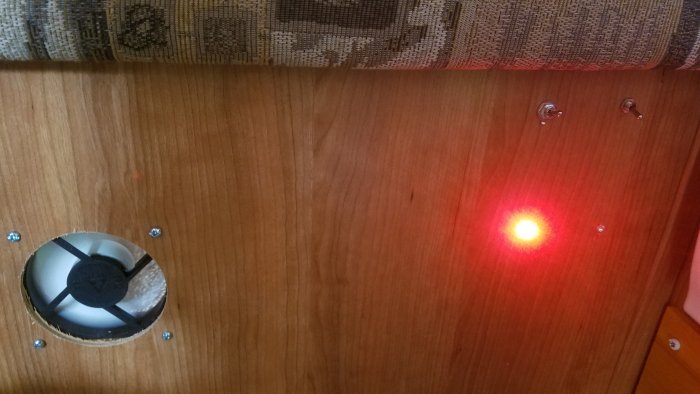 On the outside of the storage, this is what you see. A fan, at present without a face guard, and two switches and two red LEDs.
Installed a switch to manually turn on fan. Also installed an LED to indicated when the fan is onn. You can not hear the fan running.
Also, while I was at it, installed an LED to indicate when the Under the Seat Storage is lit with strip lighting.
You can not see inside the storage area if it is closed up.
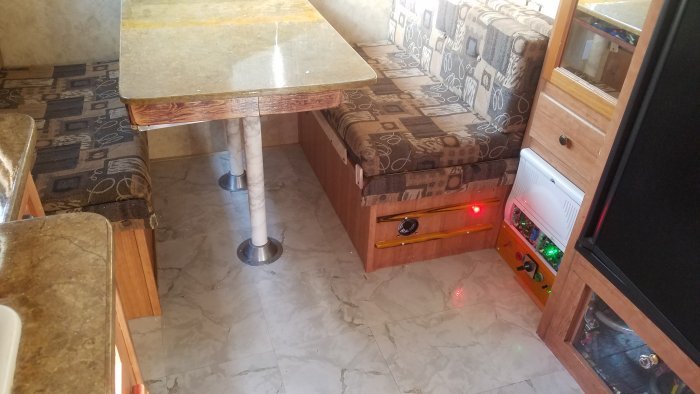 Here is the vent installed and running. Nice air flow. One problem: the air is so cold.
It is fresh, that is what I wanted. But it is sure feels cold too.
One of the problems and questions when opening a window; Do you want "fresh" or do you want "cold"?
When running either the Vented Oven Heater, or the Furnace, they both suck the coldest air from the floor area for heating.
The Vented Oven Heater actually consumes the coldest air, and expellees it to the outside. And it definitely requires a return vent.
This newly installed fan satisfies that requirement. No longer do I need to crack a window, or open the bathroom vent.
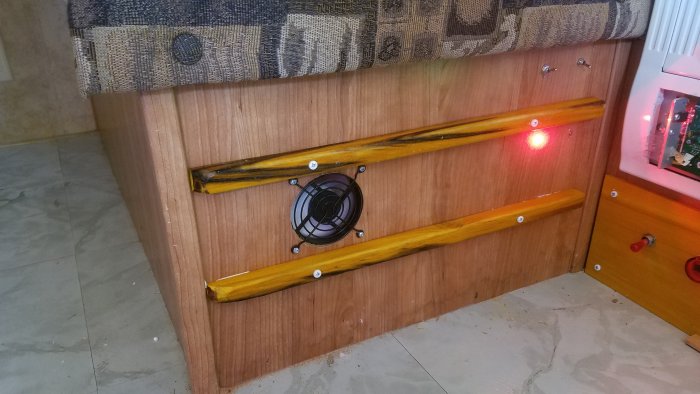 Installed two wooden rails to help block careless feet from damaging the fan. The wooden sticks are Popular with black rot.
No one else wanted to buy these, but the black character was perfect for me. Guess I am attracted to the odd stuff.
Dispite the yellow stain, when I stand back and look at it, I am kinda impressed.
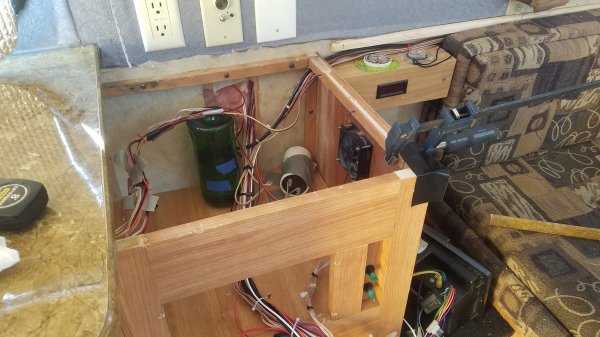 There was water damage from an extremely small leak of about one drop per hour. But this had been going on for months.
It was no more than from sweating. The damage made a small "mound" or bulge under the old lamenate. I could not live with it.
I removed the intire top. It was made of particle board and of course fatal. Particle board will expand with the smallest of moisture.
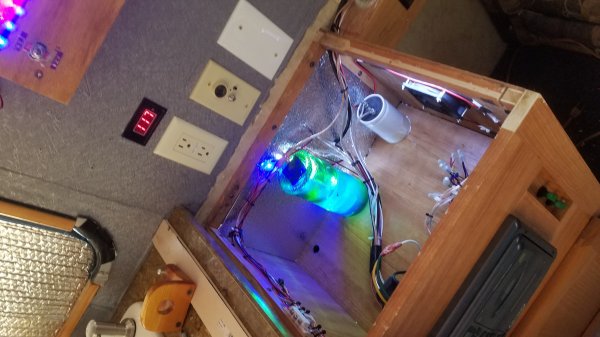 I removed the Accumulator that was above, and also was the source of the tiny leak.
The old tubular Accumulator was also an Indicator of water pressure. The reading of water level was an indication of pressure.
It ran between 1 atmosphere and two atmosphers. It actually was too sensitive, as ampiant temperature played a major role.
For about a month I had been looking for a leak of about a drop every hour.
I began to think it was my imagination because the temperature would vary the pressure reading wildly.
It was too hard to tell.
But when I could feel and see the bump next to where the water line whent through the particle board I knew I had found the leak.
Too late, but found. When I put the old tubular Accumulator in about a year ago, I suppose that I should have applied 3 or 4 atmosperes of pressure to search for leaks after my work.
But this is too dangerous to the pex connectors as the RV was not designed for pressures above 50 lbs.
I have had two leaks to pex lines when I first purchased the RV at 50 lbs.
Also it is dangerous because, in an attempt to look for a tiny drip, the leak could be explosive and throw water all over my RV.
I have an external pressure switch that shuts off the pump at exactly two attmosphers, aproximatly 30 lbs.
And the accumulators keep water vibration to a minimum. So it is safe. And I do not care to test.
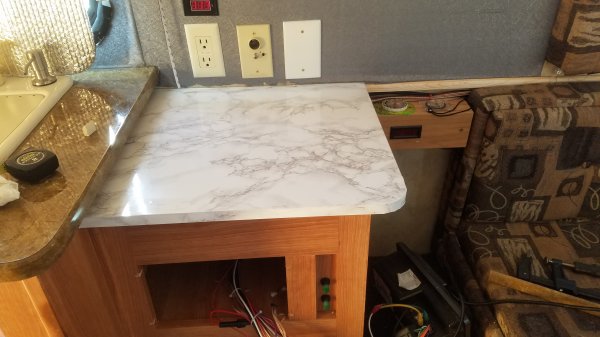 I replaced the particle board with plywood and applied a fake white marble laminate. Looks much better.